How to Migrate from Shopify Scripts to Functions (Step-by-Step Checklist)
Shopify Script Editor locked on April 15, 2026. Scripts stop running on June 30, 2026. This guide gives you a concrete checklist to complete the migration before the deadline — no developer required.
Before You Start: Understand the Mapping
Section titled “Before You Start: Understand the Mapping”Shopify Scripts had three types. Each maps to one or more Shopify Function types:
| Your Script type | Replaced by |
|---|---|
| Line Item Script (discounts) | Product Discount + Order Discount functions |
| Shipping Script | Shipping Discount + Shipping Customization functions |
| Payment Script | Payment Customization function |
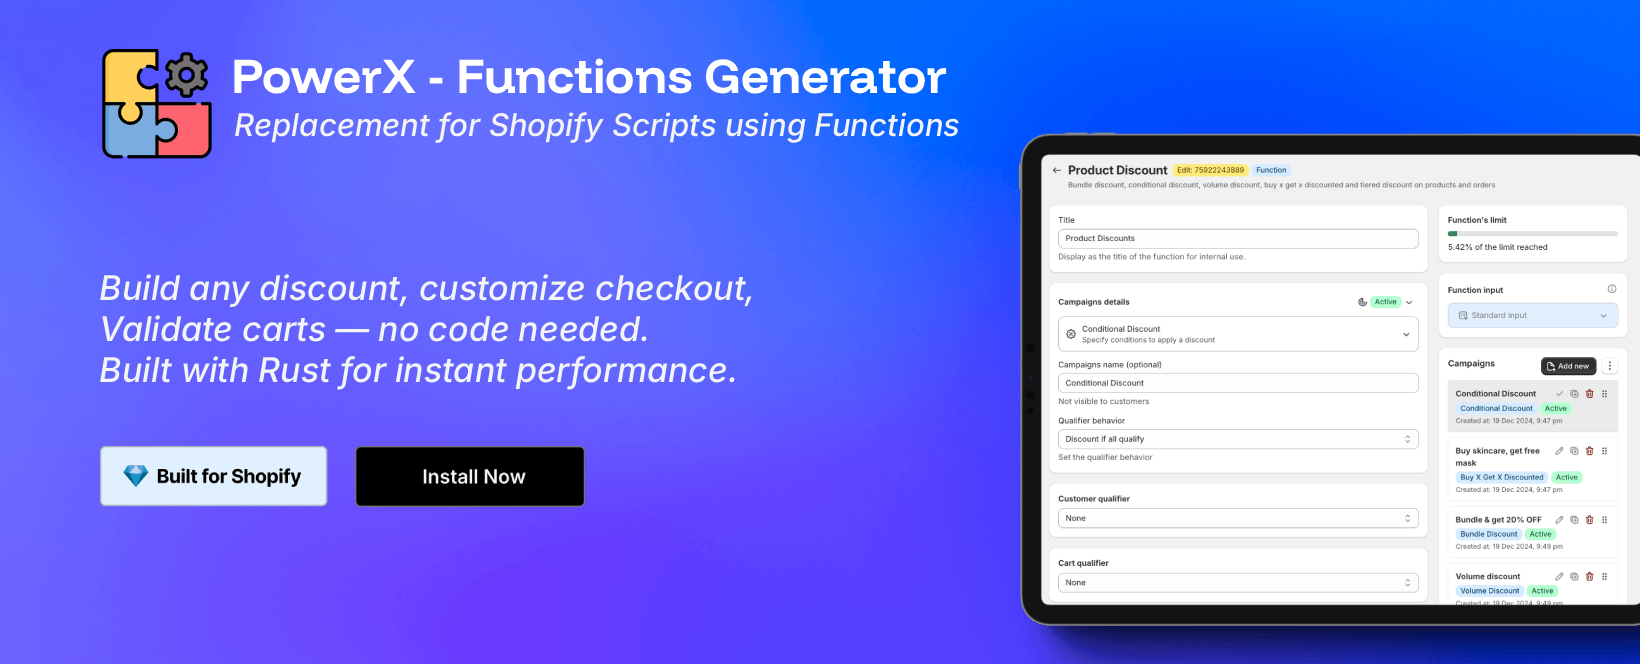
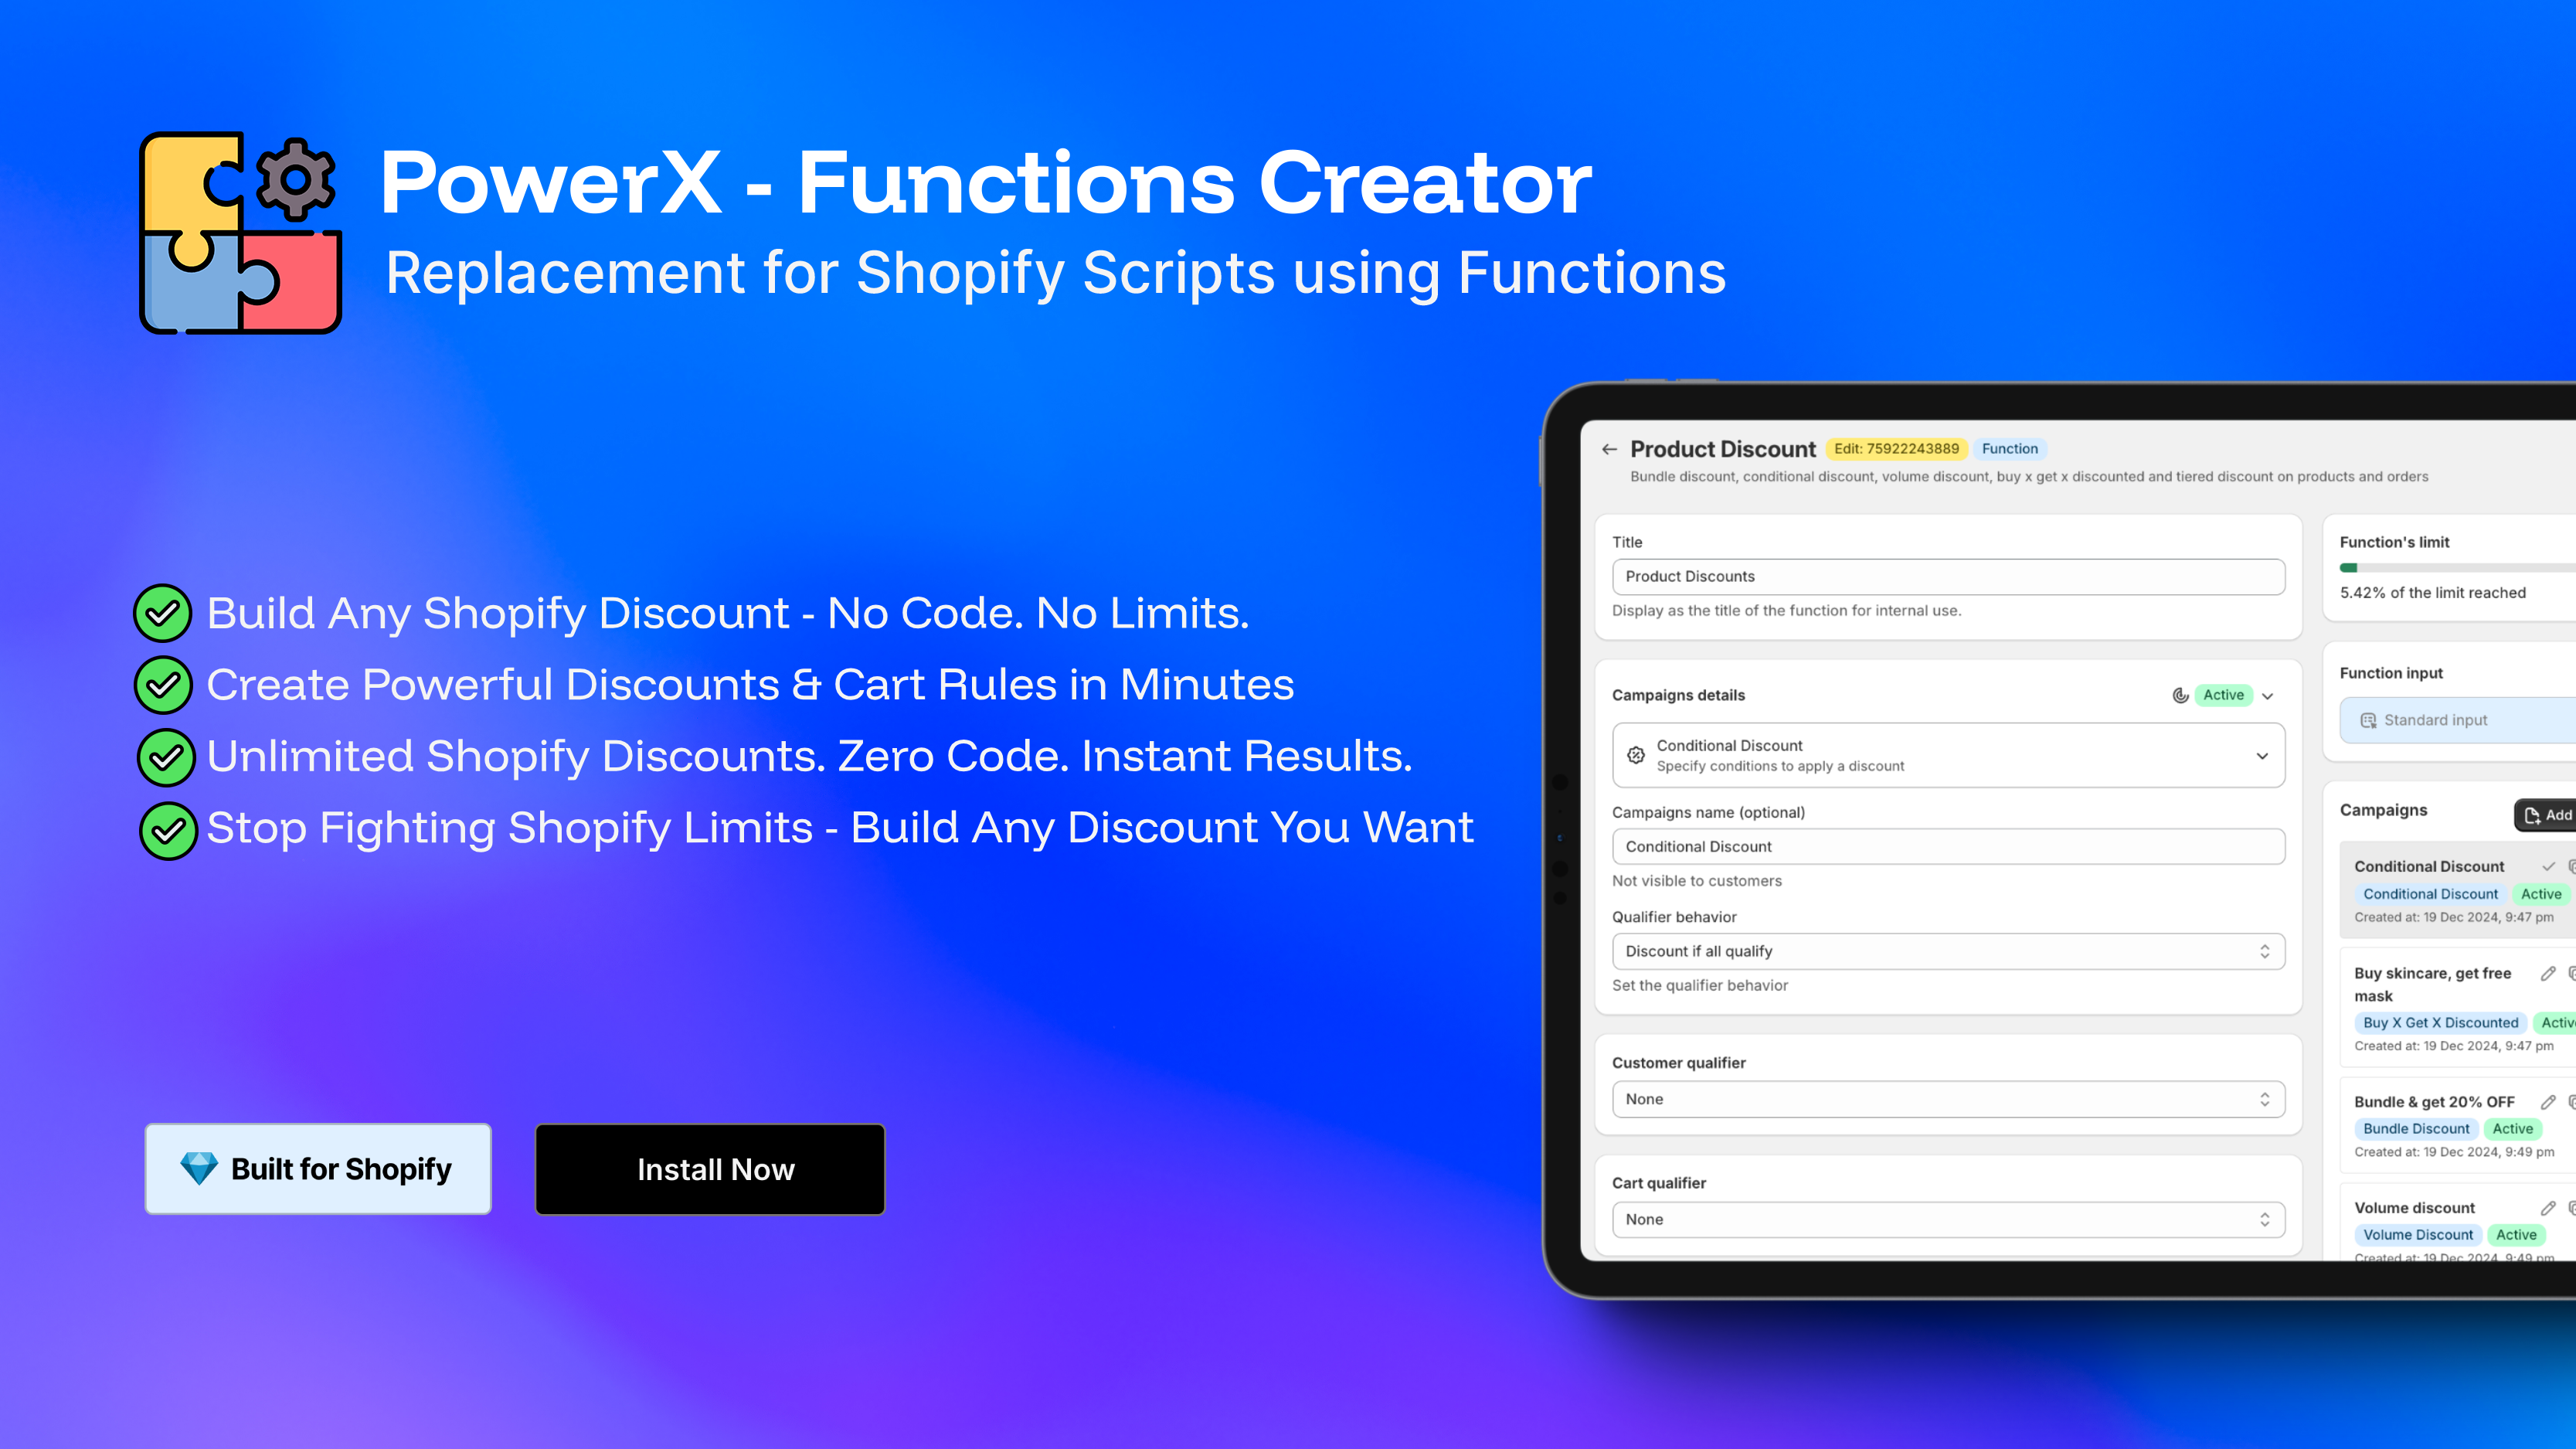
A single Functions app can cover all of these. PowerX Functions Creator handles all 8 Shopify Function types — you install once and migrate everything.
Step 1 — Audit Every Active Script
Section titled “Step 1 — Audit Every Active Script”Go to Shopify Admin > Settings > Script Editor.
For each Script, record:
- Script type (Line Items / Shipping / Payments)
- What it does — write a plain-English summary (e.g., “10% off all orders over $100”)
- Which products or collections are targeted
- Any customer conditions (tags, login status, order history)
- Any cart conditions (subtotal, item count, specific SKUs)
- Discount amount or output (percentage, fixed amount, rate visibility, payment hiding)
This list is your migration backlog. Sort by impact — start with Scripts that directly affect the most revenue.
Step 2 — Install a Functions App
Section titled “Step 2 — Install a Functions App”Install PowerX Functions Creator from the Shopify App Store. It is free on development stores and includes a 3-day free trial on paid plans.
During onboarding, PowerX will ask which function types you use. Select all that apply based on your Script audit.
Step 3 — Migrate Line Item Scripts (Discounts)
Section titled “Step 3 — Migrate Line Item Scripts (Discounts)”For each discount Script, create the equivalent in PowerX:
- Go to Functions > Product Discounts or Order Discounts depending on whether your Script applied per-item or per-cart
- Click Create Campaign
- Set the discount type: percentage, fixed amount, BOGO, tiered, or bundle
- Add the same conditions your Script checked: product, collection, customer tag, cart subtotal, etc.
- Set the discount value to match
Common patterns and where to find them:
- Volume/tiered pricing → Volume Discounts
- Buy One Get One → BOGO Discounts
- Conditional cart discounts → Order Discounts
- Customer tag discounts → VIP / Customer Tag Discounts
Browse 28 examples to find one matching your Script logic.
Step 4 — Migrate Shipping Scripts
Section titled “Step 4 — Migrate Shipping Scripts”For each shipping Script, create the equivalent in PowerX:
Free shipping or reduced rates → Use Shipping Discount functions
- Go to Functions > Shipping Discounts
- Create a campaign with conditions matching your Script (order value, customer tag, collection, etc.)
- Set the discount to 100% for free shipping, or a fixed/percentage reduction
Hiding or reordering shipping methods → Use Shipping Customization functions
- Go to Functions > Shipping Customization
- Set conditions and the action: hide, rename, or reorder rates
Full guide: Shipping Customization
Step 5 — Migrate Payment Scripts
Section titled “Step 5 — Migrate Payment Scripts”For each payment Script, create the equivalent in PowerX:
- Go to Functions > Payment Customization
- Create a rule with the same conditions your Script used
- Set the action: hide a payment method, rename it, or reorder the list
Common use cases:
- Hide “Net 30” for guests or new customers
- Show/hide specific payment gateways by country or order value
- Reorder payment options to promote preferred methods
Full guide: Payment Customization
Step 6 — Test in a Development Store
Section titled “Step 6 — Test in a Development Store”Before going live, verify every migrated function:
- Place a test order that should trigger each campaign
- Confirm the discount, shipping rate, or payment option appears as expected
- Place a test order that should NOT trigger the campaign — confirm nothing extra is applied
- Check edge cases: orders just below thresholds, guest vs. logged-in customers, different collections
Step 7 — Run Both in Parallel (Briefly)
Section titled “Step 7 — Run Both in Parallel (Briefly)”For a short period, run both your original Scripts and your new Functions simultaneously. Compare real orders to ensure the Functions produce the same output as the Scripts.
Watch for:
- Discounts applying twice (Script + Function both trigger)
- Discounts not applying (condition mismatch)
- Shipping or payment options appearing/hiding unexpectedly
If you see double discounts, adjust your Script conditions to exclude what the Function already covers, or simply deactivate Scripts sooner.
Step 8 — Deactivate Your Scripts
Section titled “Step 8 — Deactivate Your Scripts”Once you have confirmed the Functions work correctly:
- Go to Settings > Script Editor
- Open each Script
- Use the Disable option (while Script Editor is still readable until June 30)
Do this before June 30, 2026. After June 30 it happens automatically — but doing it yourself lets you control timing and confirm nothing breaks.
Migration Checklist Summary
Section titled “Migration Checklist Summary”- Audit all Scripts in Settings > Script Editor
- Document what each Script does, conditions, and outputs
- Install PowerX Functions Creator
- Recreate each Line Item Script as a Product or Order Discount function
- Recreate each Shipping Script as a Shipping Discount or Shipping Customization function
- Recreate each Payment Script as a Payment Customization function
- Test in development store — verify triggers and edge cases
- Run Scripts and Functions in parallel, compare outputs
- Deactivate Scripts once Functions are verified
Start today. You have until June 30, 2026 — but testing takes time you do not want to rush.
Install PowerX Functions Creator — free on development stores, 3-day trial on paid plans.